Olton Golf Club

The Course
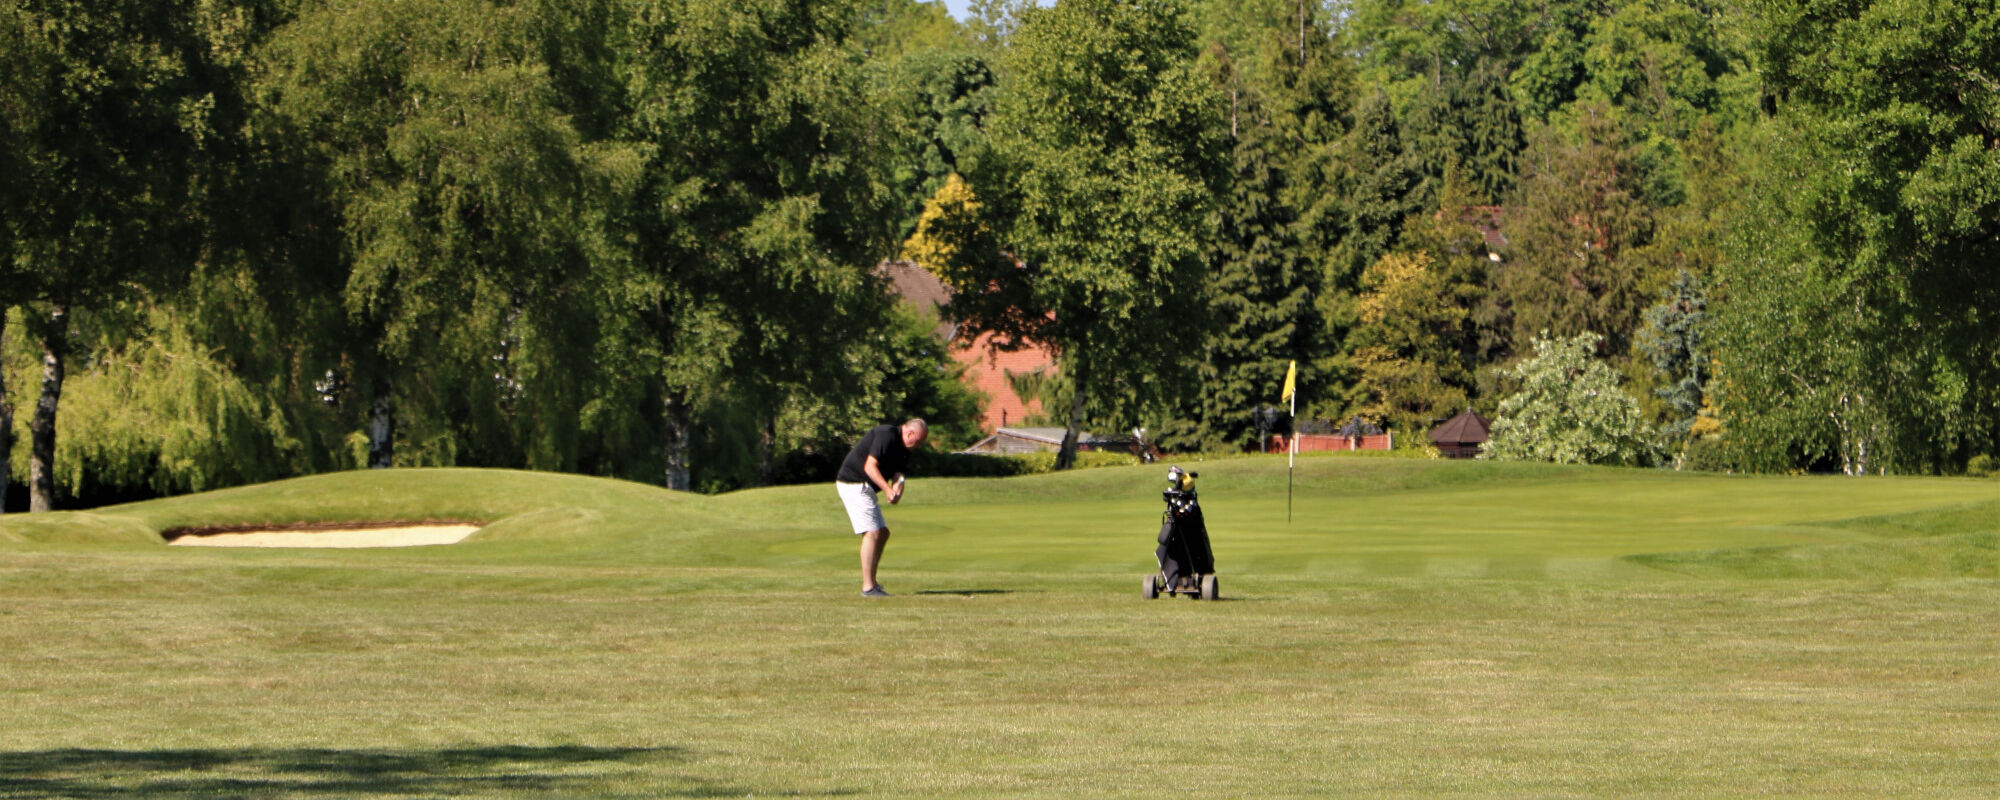
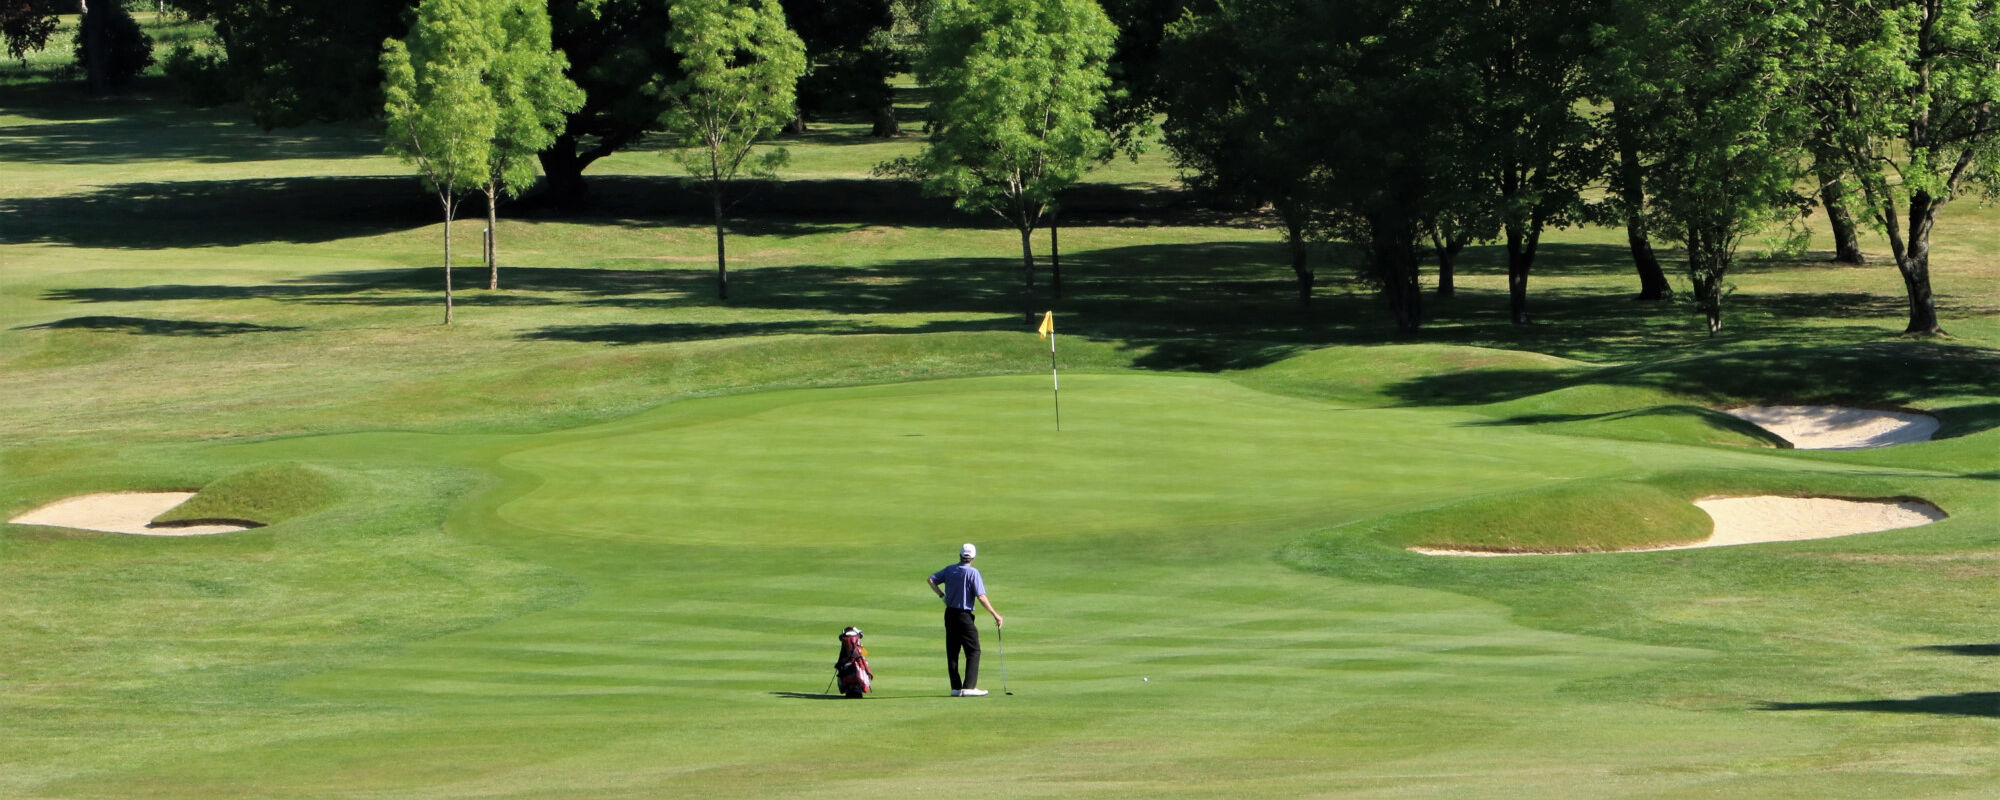
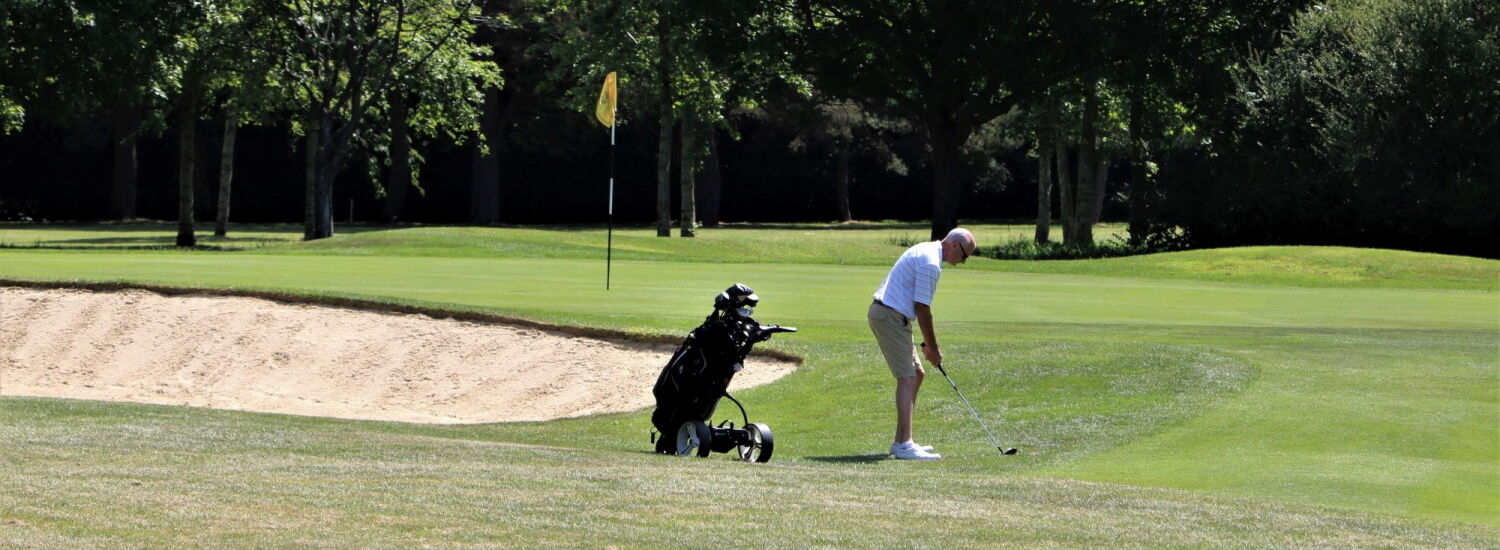
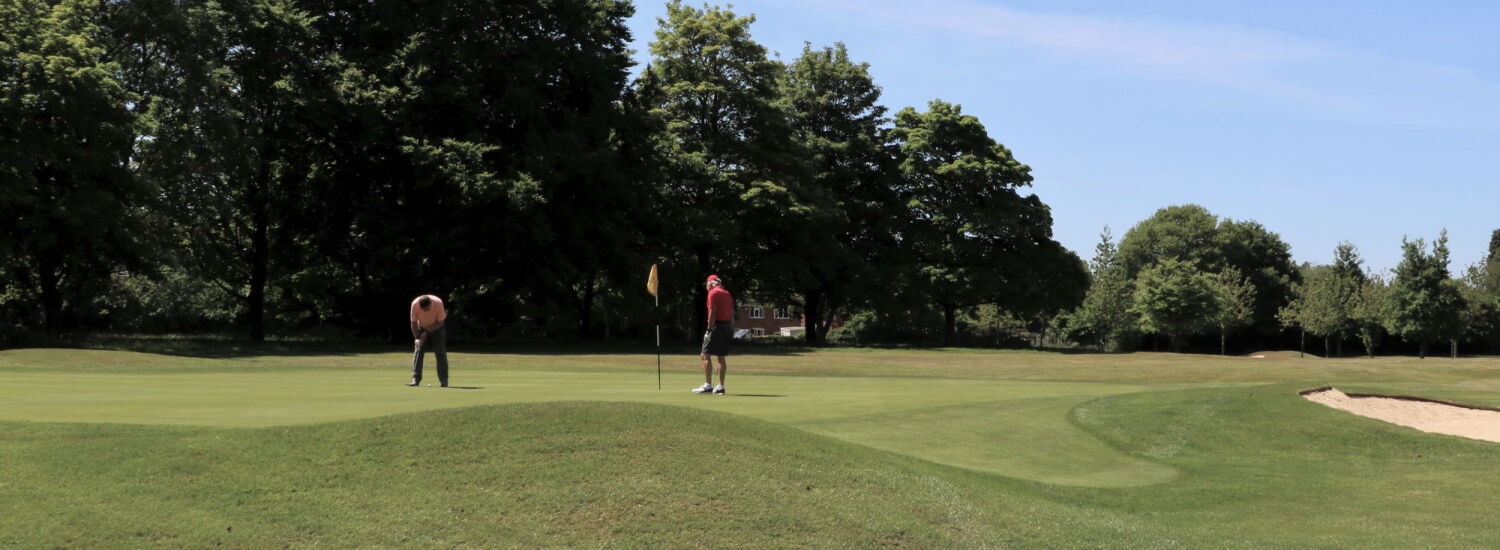
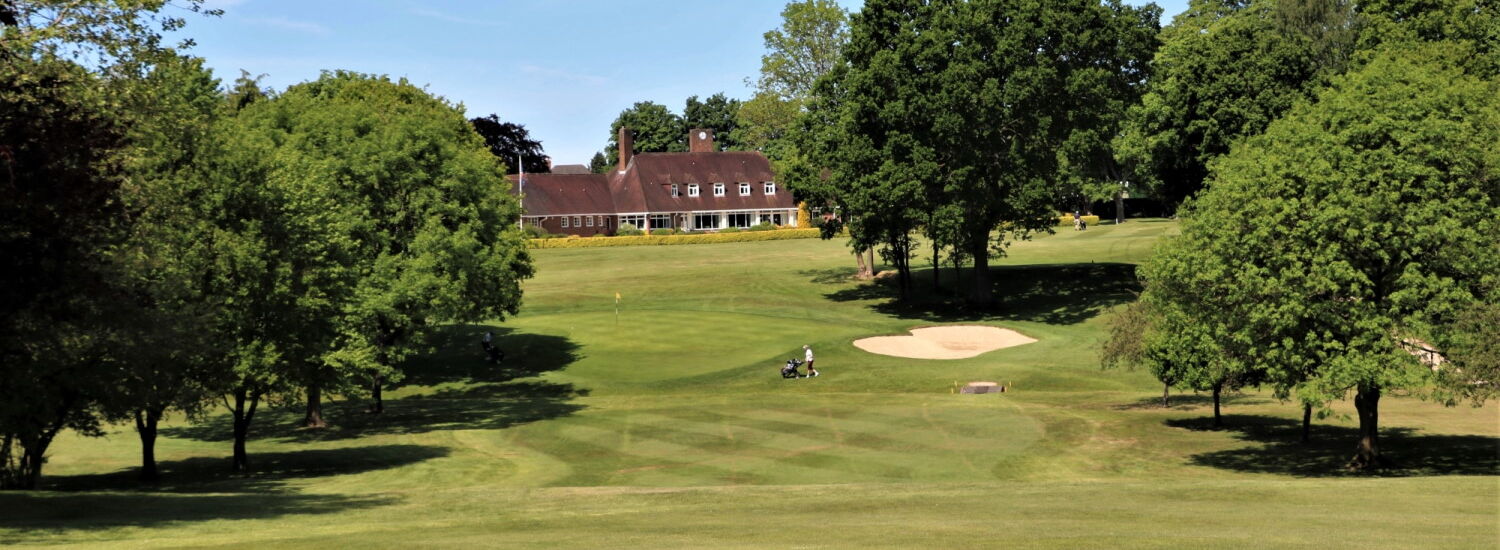
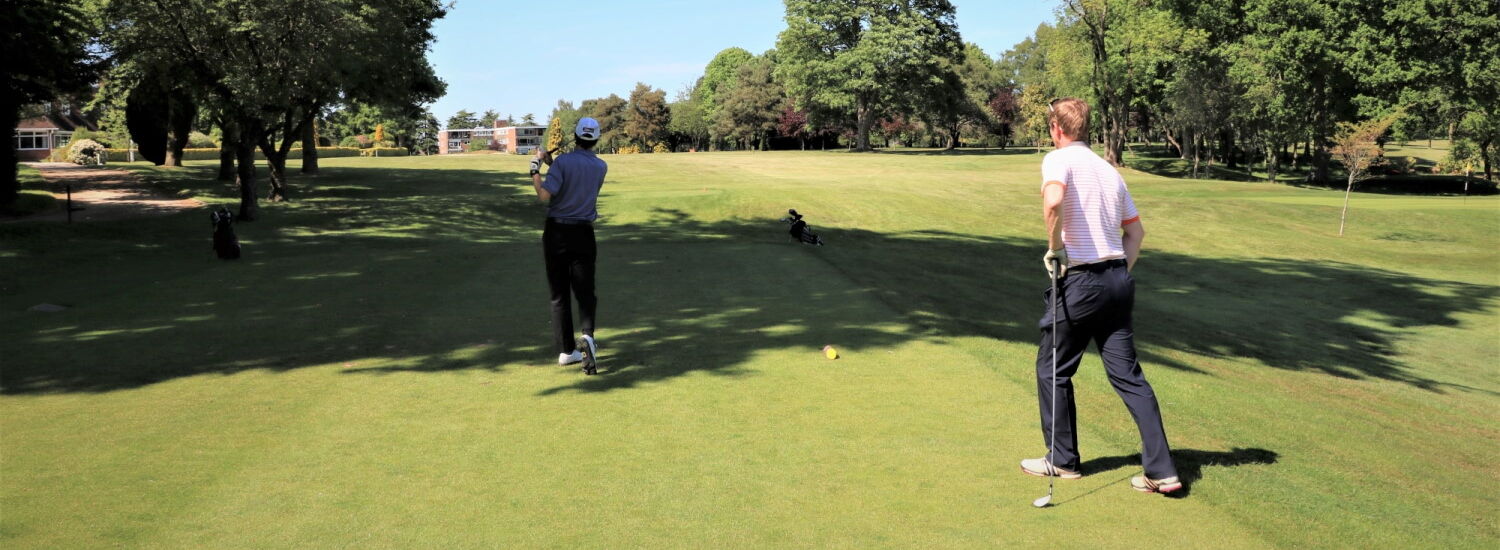
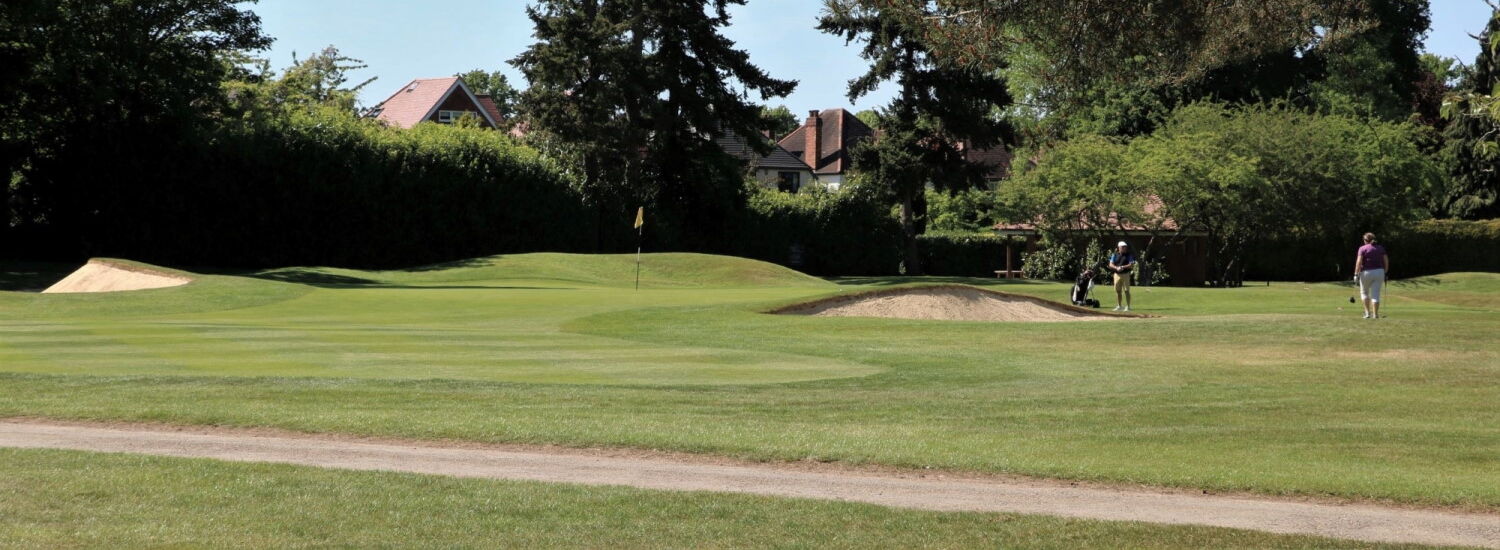
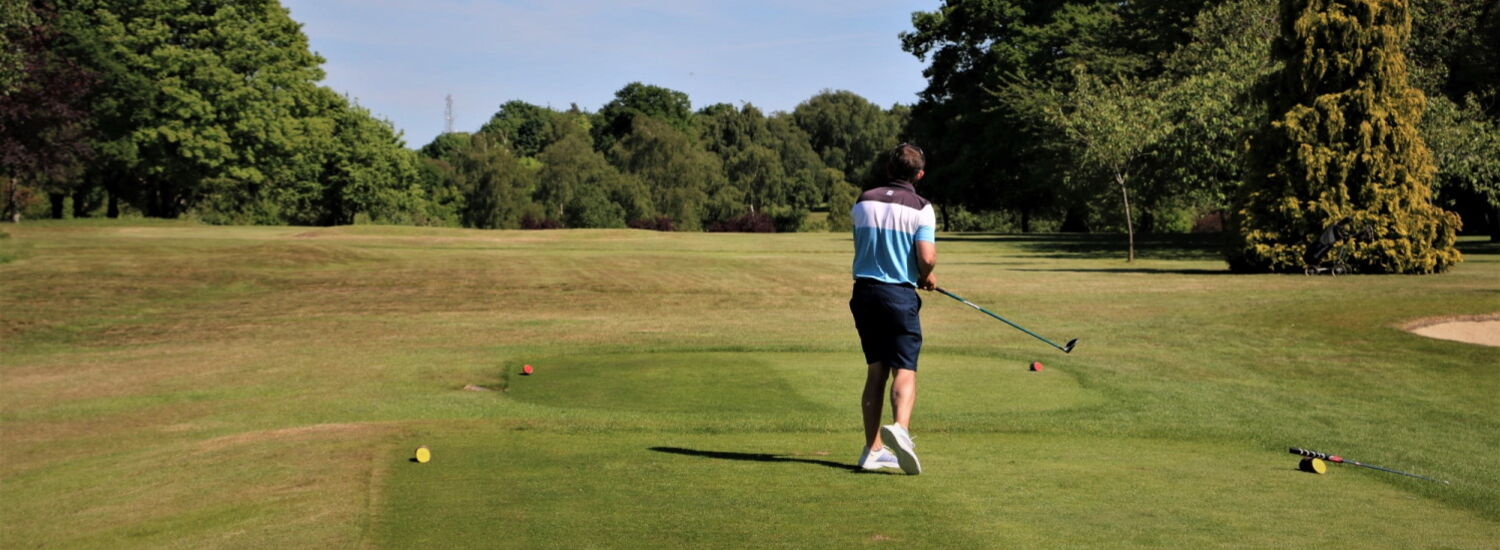
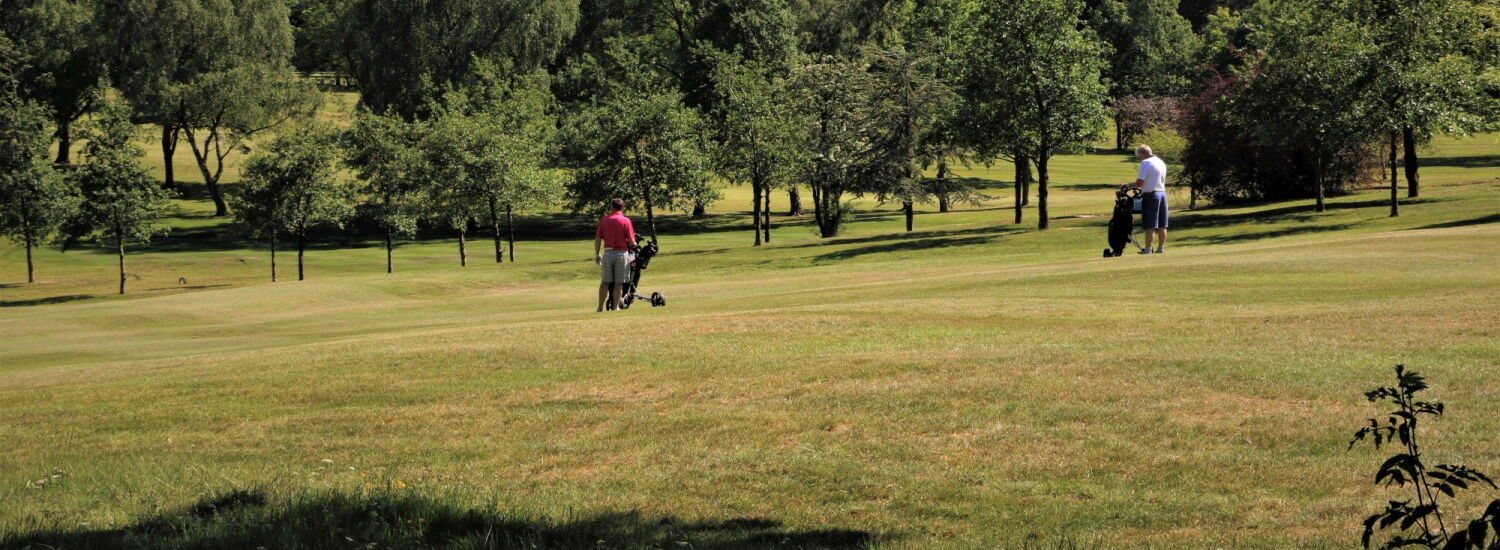
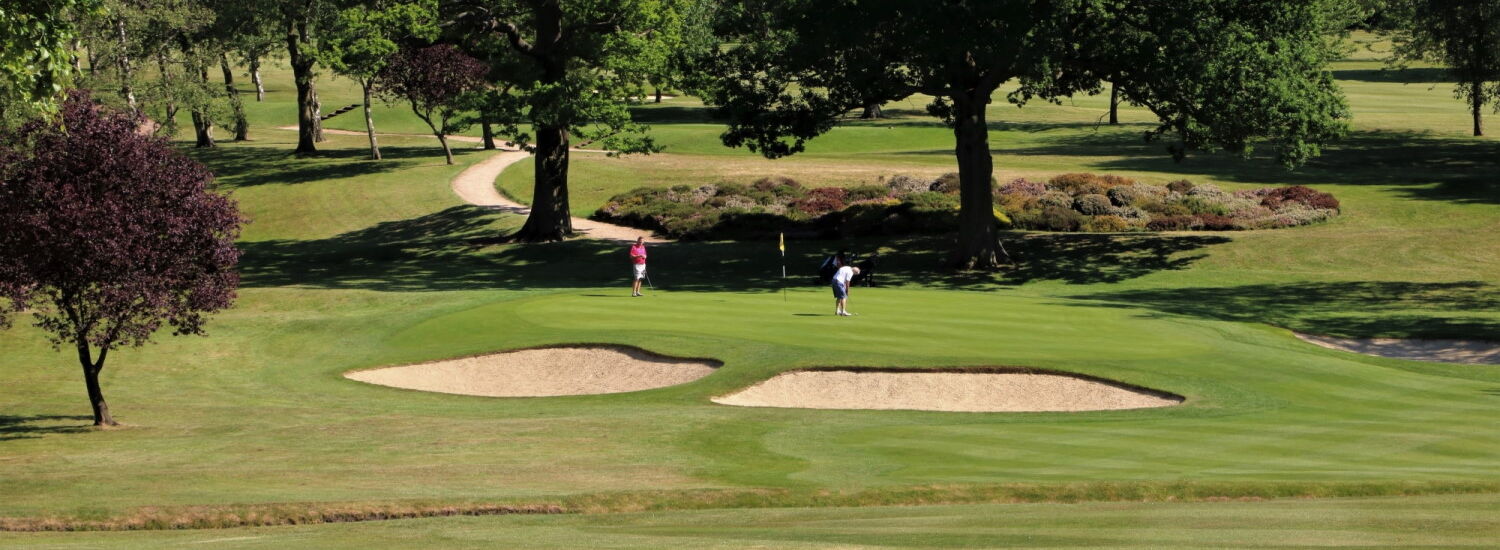
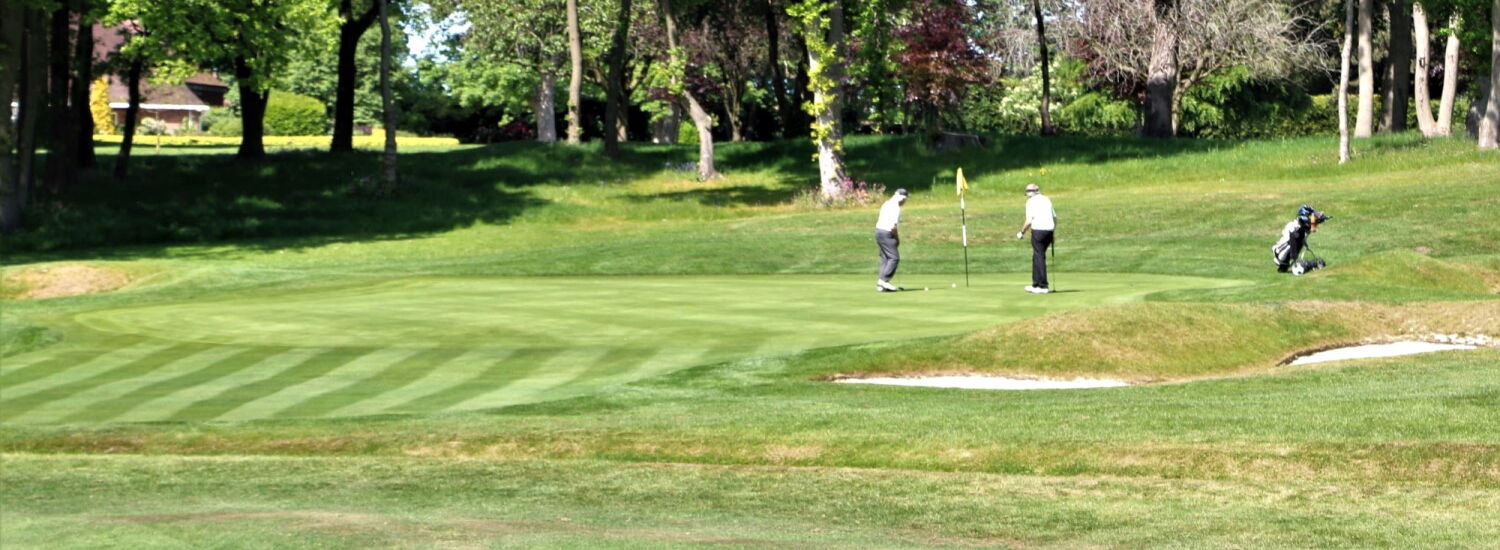
A truly memorable experience awaits you at Olton Golf Club. Regarded as one of the finest private clubs in the West Midlands and set within 95 acres of beautiful mature parkland. The Greens are outstanding and the Putting surfaces are recognised as some of the best in the UK.
No other Club in the UK can boast Six tee off points so close to the Clubhouse offering a quick practice round of Two, Three, Four, Five, Six or Nine holes of golf...... IT'S UNIQUE.
For details of individual holes with tips from the pro please select from the hole numbers above.

Pro's Tips
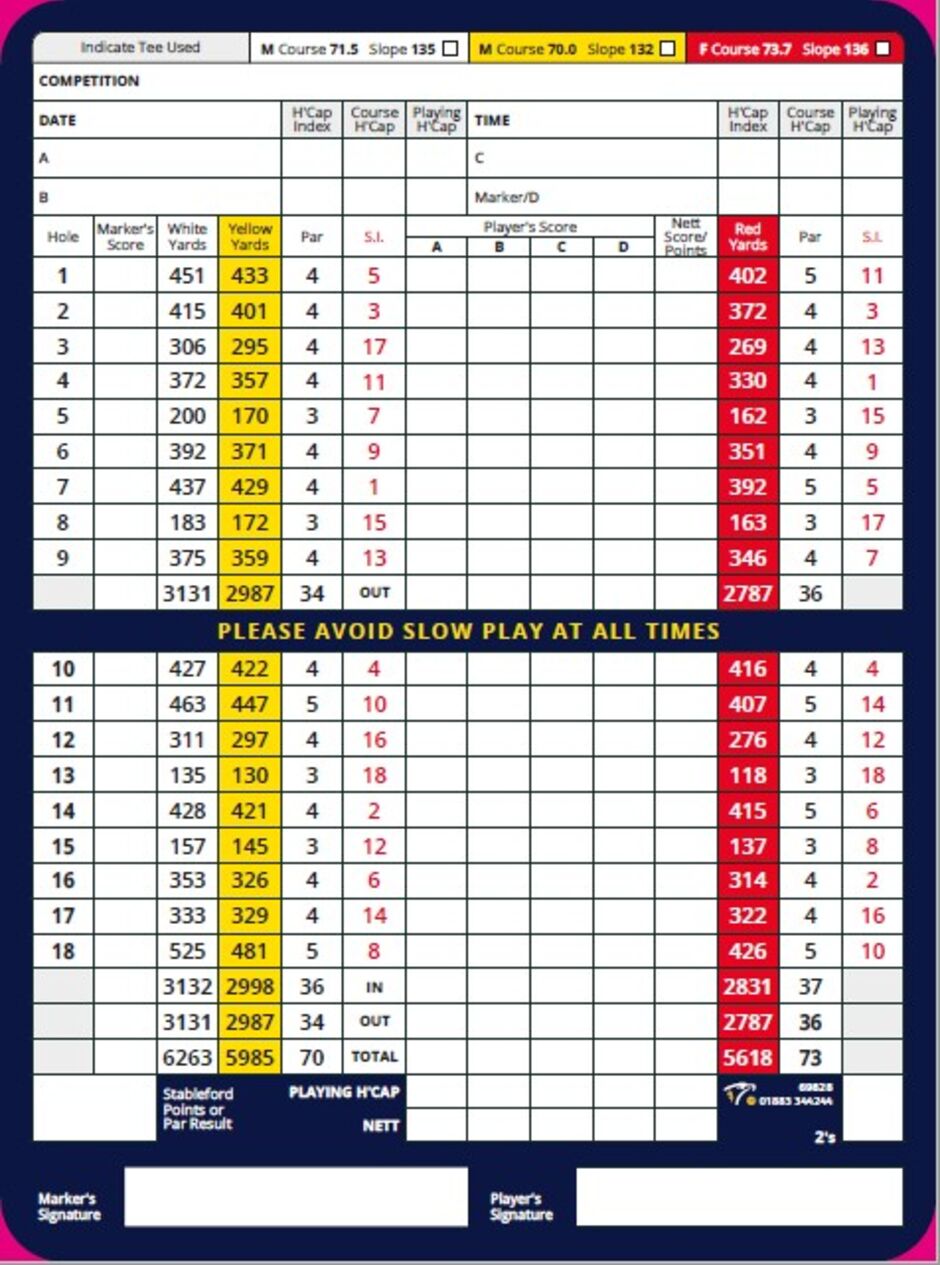
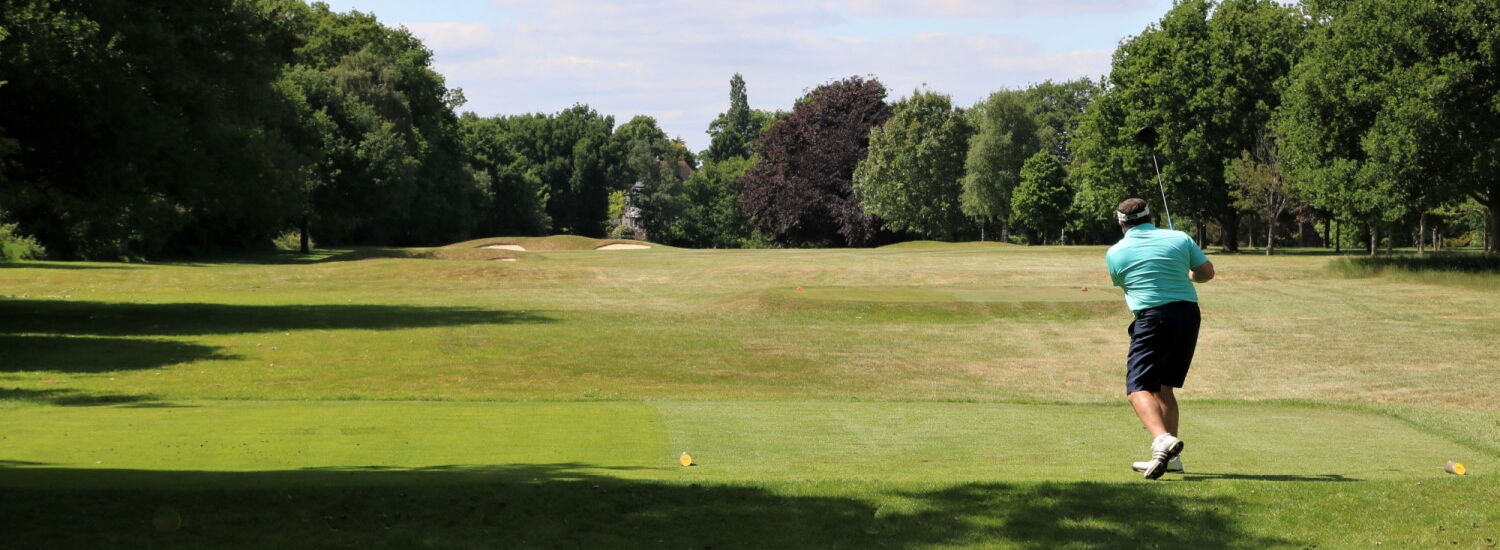
Intermediate: The opener at Olton GC requires two of your finest blows to get home in regulation; if you are unable to reach with your second, take care with your layup and avoid the second fairway bunker. Approach shots short will end up on the apron run off leaving a straightforward chip/pitch shot – don’t be too disappointed if you walk away with a bogey 5, with a SI of 5 it is easily done!
Advanced: At 451 yards and slightly uphill, a well struck tee shot to the left of the fairway bunker will leave a mid/long iron into a green that is elevated and guarded by bunkers left and right - the prevailing wind tends to be into, so take an extra club to ensure you hit the green in regulation.


Pro's Tips
Intermediate: Running down the left-hand side of the opening hole, the second plays slightly shorter than the card suggests due to your second shot being downhill - the clubhouse is a good line for your tee shot. It may be worth laying up short of the stream short of the green with your second to eliminate a double bogey or worse; like the first, a 5 on this SI 3 par 4 is not a bad score.
Advanced: The clubhouse is a perfect line from off the tee; in the summer a good drive can get you to the bottom of the hill with a short iron into the green – the safer play would be to hit a fairway wood/driving iron to the top of the hill with a mid/long iron in. The back to front sloping green is guarded by: a runoff to the left, a bunker to the right and running stream in front – be wise with your club selection as the green is situated below you and finishing below the hole is a must if you want a ‘makable’ putt!

Pro's Tips
Intermediate: A 200-yard tee shot to the right of the fairway bunker will leave a short iron shot into a green protected by a bunker left and right, make sure you take the fairway bunker completely out of play with your tee shot as finishing in here will make getting home in regulation a difficult task.
Advanced: After quite a testing opening two holes, the 3rd hole is a great opportunity for you to make up any lost ground. A 200-yard tee shot to the right of the fairway bunker will leave a wedge shot into a fair green. For those who are more aggressive a drive over the left-hand side of the bunker will leave you a short pitch in – however be mindful of the OB to the left. You will be disappointed not giving yourself a chance of birdie on this gentle hole.
Pro's Tips
Intermediate: Ensure your tee shot favours the left-hand side of the fairway to leave yourself a clear view of the green for your second shot. There are three large bunkers situated left, right and short of the green waiting for any shots miscalculated, pushed or pulled – long is better than short so do not make the mistake of ending up short of the green.
Advanced: Although not particularly long, the 4th hole requires a positioned tee shot down the left-hand side of this sloping fairway; if executed, this will then lead to a straightforward approach shot to a green that sits below you. Again, be wise with your club selection as the green is well protected with bunkers short and left for any uncommitted shots. Like the 3rd, a well-played tee and approach shot will give you a good look at birdie.


Pro's Tips
Intermediate: The first par 3 at Olton will see most golfers use a club with a headcover, ensure you take the stream running short of the green out of play with plenty of club off the tee. Putts above the hole will be extremely fast so be mindful of the pin position of the day.
Advanced: The 5th hole sees you play the first par 3 on the course and it is one that will require a well struck long iron to a green that sits back to front - leaving you tee shot below the hole is key for an uphill putt which you can be more aggressive with. Also be mindful of the pin position on the day as the size of the green can change the club you use when the pin is at the back/front.
Pro's Tips
Intermediate: Position your tee shot on the left-hand side of the fairway to leave yourself with a better angle into the two-tiered green, tee shots up the right may block out your approach shot. Be mindful of the fairway bunker to the left of the fairway with your tee shot. The green is heavy protected with a bunker left and run offs right and long, a good solid shot to the heart of the green will take any of the above out of play and leave you with a straightforward putt.
Advanced: The ideal tee shot would be on the left-hand side of the fairway for a good line into this two-tiered green with a short/mid iron; however, make sure you are either past or short of the fairway bunker on the left. For your approach, the difficulty will depend on the pin position of the day so be mindful of the: steep run off to the right, bunker to the left and steep slope behind the green.

Pro's Tips
Intermediate: Our 7th hole will require two of your Sunday best to reach the green in regulation; to give yourself a clear view of the green, make sure your drive is in the left-hand portion of the fairway to avoid any ‘chip outs’ from the right trees. Around 100 yards short of the green lies another stream; again, be mindful of this with your second shot and decide whether you are going to play safe and lay up or if you are going to carry it. If you cannot get to the green in two it would make sense taking the trouble out of play by laying up.
Advanced: The 7th hole is well deserving to its SI of 1. A tee shot favouring the left side of the fairway will eliminate any tree trouble to the right of the hole. The approach shot will be to an elevated green so take this into consideration when calculating what club to hit. Missing the green will leave a straightforward chip/pitch however be aware of the false front that will feed back any mishits on/into the green.
Pro's Tips
Intermediate: This inviting par 3 requires a well struck tee shot with a long iron/hybrid to find the long, narrow green. Tee shots that miss the green left or right will require a good chip and putt to save par. Most golfers finish short, so it is worth taking an extra club to ensure you hit the green.
Advanced: A solid iron shot to the heart of the green will leave you with a straightforward putt for your birdie, tee shots off target will most likely find one of the greenside bunkers to the left and right. Pay attention to the pin position as this will have a significant impact on the length of the hole and club selection.

Pro's Tips
Intermediate: Playing this hole as it was designed will see you drive up to the dogleg with your approach being a mid/long iron shot into a fair green guarded by bunkers short left and right. All the trouble is located short of the green so take this out of play with your club selection.
Advanced: A fairway wood to the corner of this left to right dogleg will leave a straightforward medium iron in; however, for those who take a more direct line on/over the corner of the dogleg will have a wedge shot in and a good look a birdie. Be mindful of the fairway bunker that lies 80 or so yards of the green though if you take this line, driver on this line will run out of fairway also.

Pro's Tips
Intermediate: A well struck tee shot down the centre of the fairway will leave you with a good view for your approach towards a green slightly below you. Be mindful of the OB to the left with your tee shot – but don’t overcompensate and aim into the trees on the right! Bunkers are only located to the left and right of the green so running in your approach shot is an option if you have a long iron/fairway wood into the green.
Advanced: A tee shot hugging the left-hand portion of the fairway will leave a mid-iron into a very large green. Drives too far to the right may run out of fairway into the trees and those too far left may need a provisional off the tee with OB looming left. Anything from a short to a long iron may be used for your approach depending on the pin position.

Pro's Tips
Intermediate: Although not particularly long on a direct route, the first par 5 on the course requires three well thought out shots to reach the green in regulation. Be mindful of the OB left and fairway bunker on the dogleg: playing to the right-hand side of the fairway will take the above out of play and will give you a good view of the green.
Advanced: Our first par 5 on the course is a great chance to pick up a shot – but only if you execute your tee shot well. OB stretches all the way down the left and a deep fairway bunker is located on the dogleg for those that don’t pick the right line. If you manage to thread the needle with your tee shot to the left of the bunker and right of the corner, you will be rewarded with a mid/long iron shot into the green. Playing up the right and short of the bunker will leave a good view into the green however leaving you with a more traditional par 5 approach.
Pro's Tips
Intermediate: Take the fairway bunkers out of play with your tee shot and pick your club wisely, a 200-yard tee shot will leave you with a mid/short iron into a green that slopes to the left severely – allow for this with your approach shot. If the pin is located back right it will be guarded by a well-placed bunker, take your medicine, and play for the heart of the green to give yourself a straightforward putt.
Advanced: Decide whether you are playing safe or aggressive off the tee as a birdie can be found with a well-played distance wedge or short chip/pitch shot into the green with your approach. Playing conservatively should see a long iron/fairway wood short of the fairway bunkers leaving a wedge shot in; those taking on the green will hug the left-hand rough but be aware of the fairway bunker located short left of the green and catching out any ambitus tee shots that don’t make the green - then leaving you with a long-distance sand shot.

Pro's Tips
Intermediate: Club selection is vital on this inviting downhill par 3 and this will depend on the pin position on the day. Take the bunkers short and left out of play with a well-played iron shot to the heart of this two-tiered green.
Advanced: A pin position on the front will tend to yield more birdies as the slopes short and long of the pin allow the ball to feed towards the hole. When the pin is cut on the top tier, be aware of the bank behind the green as shots long of the green will leave a difficult chip shot that runs away from you with not a lot of green to work with.
Pro's Tips
Intermediate: This is another strong par 4 with OB down the left-hand side from the tee box to the green. The ideal tee shot will be up the right-hand side of the fairway and short of the fairway bunkers that are hard to see from the tee. The narrow green requires a well struck mid/long iron to hold the green.
Advanced: The fairway bunkers are the only obstruction with your tee shot on this strong par 4; if you are unable to carry them, a tee shot short/up the right-hand side will leave a mid-iron into a narrow green with bunkers left and right. There is more room towards the back of the green so take the bunkers out of play with a well-executed approach shot.

Pro's Tips
Intermediate: Two large, steep faced bunkers await short of this slopy par 3 green for those who under club. If you don’t manage to hit the green in regulation, finishing long will give you a better chance of getting up and down rather than short in the deep bunkers.
Advanced: It is vital that you leave your tee shot below the hole to give yourself the best opportunity of having a makable putt. Tee shots that come to rest above the hole will require a good touch on this slopy green to avoid three putting!
Pro's Tips
Intermediate: Aim your tee shot up the left-hand side as the fairway slopes towards the fairway bunkers on the right – it maybe worth taking a fairway wood instead of driver to take the bunkers out of play. Your approach shot will be up to an elevated green that slopes severely from left to right, ensure you take an extra club, so you do not end up in the steep bunker short of the green.
Advanced: If the fairway bunkers are within your driving distance it maybe be worth hitting something less than driver off the tee, so you do not make the mistake of hitting your tee shot in the bunkers – aim your drive up the left-hand side as the fairway slopes to the right. Your short iron approach will need to be calculated well with the change in elevation. Because the green slopes from left to right a direct line to the pin is not necessary – you can use the undulations to feed your approach towards the pin to give yourself a good look at birdie.
Pro's Tips
Intermediate: A tee shot up the right-hand side will leave you with a clear view of the green and will prevent you from being blocked out from the trees on the left. Play the hole sensibly and you will have a short/mid iron into a fair green complex.
Advanced: You may choose to be aggressive off the tee to get within 100 yards of the green however the hole bottlenecks within this area so only the best of the best tee shots will remain in the desired area. A long iron/fairway wood up the right-hand side of the fairway will take all trouble out of play and will leave a short iron into the green – more birdies will be made playing the hole this way rather than hitting driver.
Pro's Tips
Intermediate: Avoid the two fairway bunkers to the left of the fairway with a tee shot to the right; your second shot requires you to choose a club that will get your ball to finish on top of the hill before the runout as this will leave you with a straightforward approach off a flat lie rather than a slopy lie if you take too much club.
Advanced: The ideal tee shot will be past the fairway bunkers/slightly to the right of them, this will then leave you with a good view to a green that sits below you. Depending on your situation and confidence will depend on whether you go for the green or layup. If you layup, it is important to finish on the fairway and short of the brook, so you have a good chance of executing a good pitch shot. If you decide to go for the green, ensure you have enough club to take the brook out of play. Finishing short of the green or in the greenside bunkers will leave you with a straightforward up and down for your birdie.


Olton Golf Club
Mirfield Road, Solihull, B91 1JH
Office: 0121 704 1936
Email: honsec@oltongolfclub.co.uk
For map and directions please click here.


Created by intelligentgolf version 10.1.2.